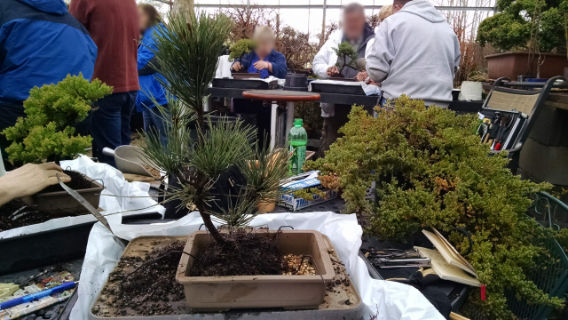
This past weekend I attended a beginner bonsai workshop at Plant City Bonsai, and had great experience. Plant City Bonsai is about an hour north of Atlanta in Clermont, GA, and it's definitely worth the drive!
Steve and Sandy Cratty run a fantastic bonsai nursery, and I had a great time talking with them again. I first met Steve and Sandy about 3 years ago, after a trip to San Francisco's Japantown that got me interested in bonsai. Sandy helped me pick out a tiny juniper tree that did great, until I killed it by overwatering last summer.
I've wanted to attend one of their beginner's workshops since I first got my first tree from them, but I always seemed to be out of town or have some other conflict. The universe finally smiled upon me, and I was able to go to their first beginner class of 2015.
The beginner workshop was priced very reasonably at $75, and included the tree, pot, soil, wire, and you could borrow any tools you needed. My class lasted about five hours from start to finish, and I definitely like I got my money's worth.
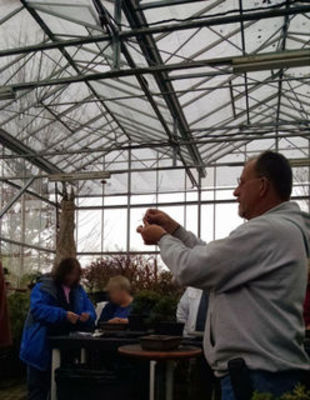
The class was led by Dave Piemme, who has been doing bonsai for about 30 years (if I remember correctly). Dave was full of useful information, and I took about six pages of notes while he talked. For about the first hour of our class, he talked about the basics of bonsai, and took questions from all of us. It was really helpful to learn first-hand from someone with so much experience growing bonsai here in Georgia.
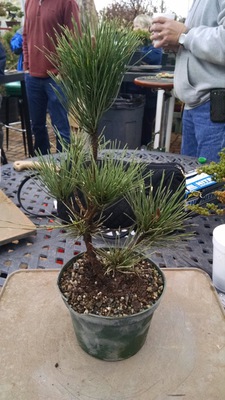
When it was time to pick out our tree for class, something drew me to the Japanese black pines. We could pick between juniper, black pine, and azalea, and there were about 25 trees for us to choose from. From what I can gather, the black pine is a more challenging tree to sculpt, but they are stunning when they are more mature.
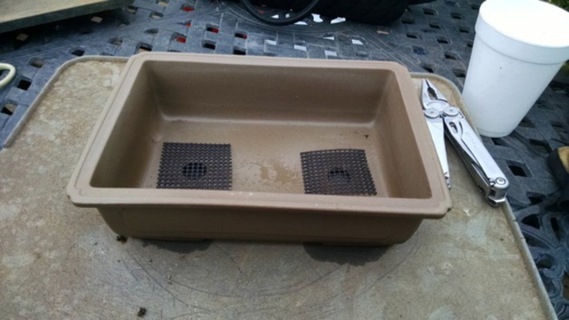
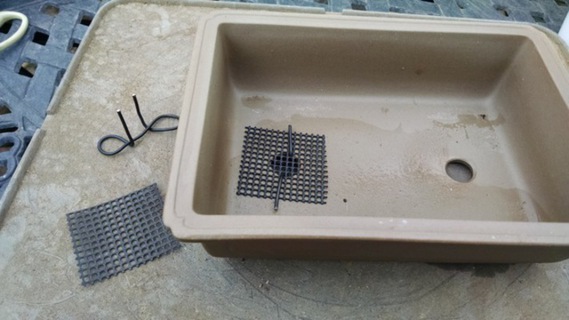
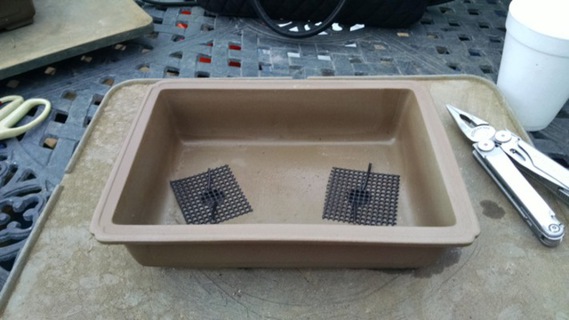
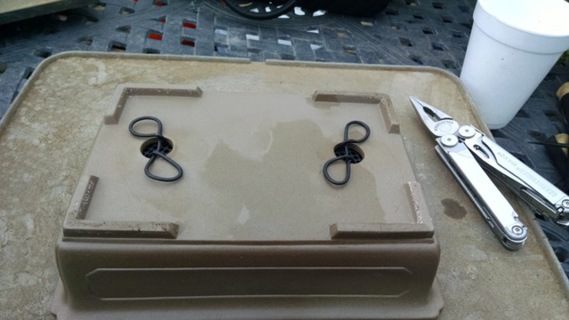
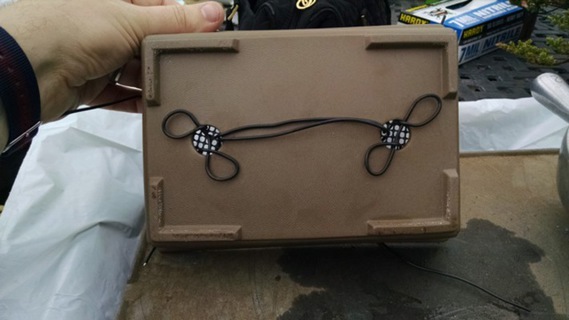
The first thing we did was prepare the pot for our new bonsai trees. A bonsai pot has to have adequate drainiage, but needs soil screens in place to keep the soil from washing out of the bottom.
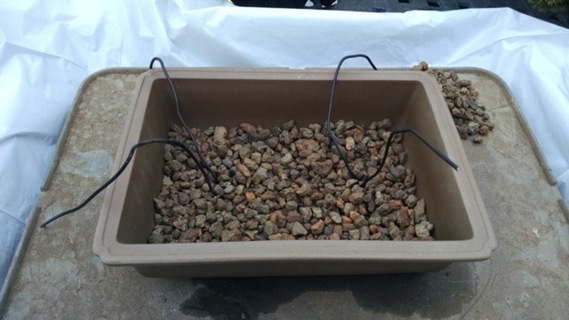
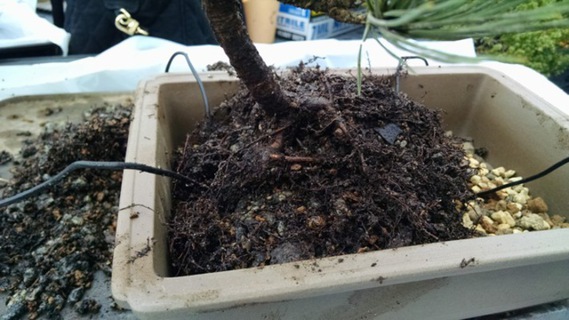
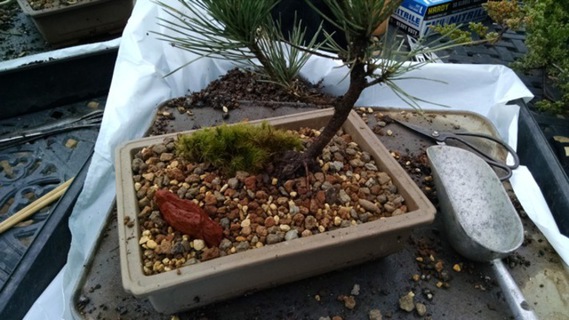
After we wired our soil screens into place and threaded our wire to secure our bonsai, we added a thin layer of gravel to the bottom. This layer of gravel helps excess water drain from the pot. As I found out the hard way, too much water can kill a tree!
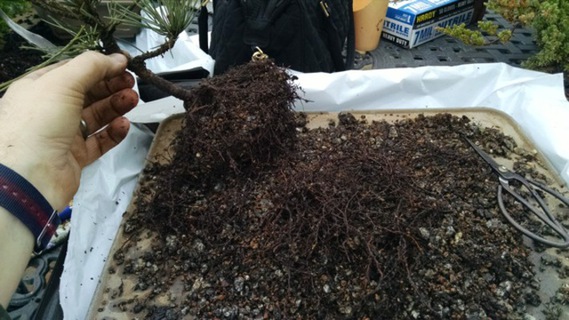
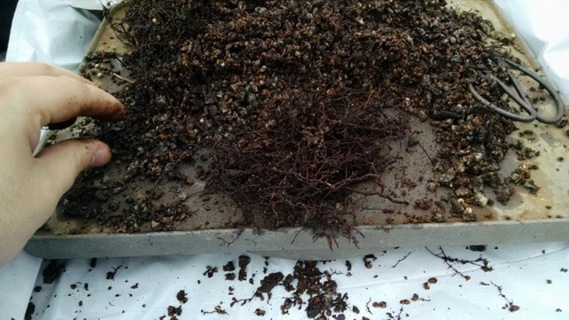
After our pots were prepared, we moved on to trimming our tree roots. According to Dave, the tree's root system starts dying within ten minutes of being removed from soil, so it's better to have your bonsai pot ready for your tree immediately.
Once our trees were positioned in the pot how we wanted, we used the wire to secure the tree to the pot. My previous tree would occasionally be blown off the ledge it sat on, so it's very important to secure your tree to the pot. If the pot fell from the ledge and the tree's roots were exposed to the air, there is a much greater chance that the tree will be permanently damaged.
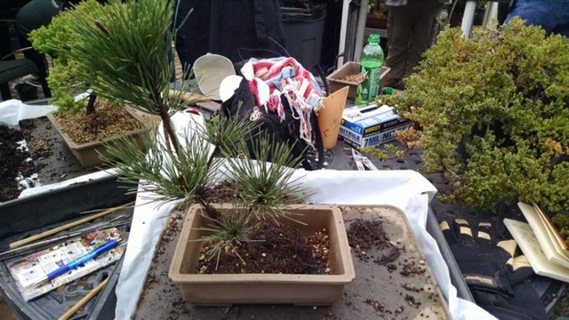
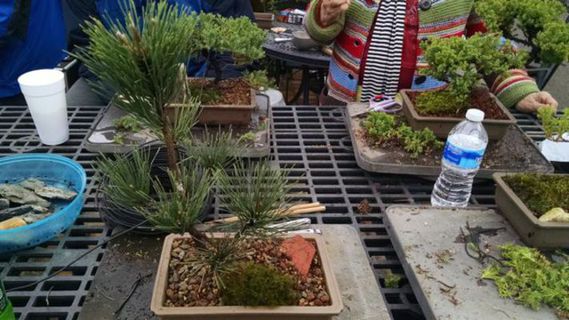
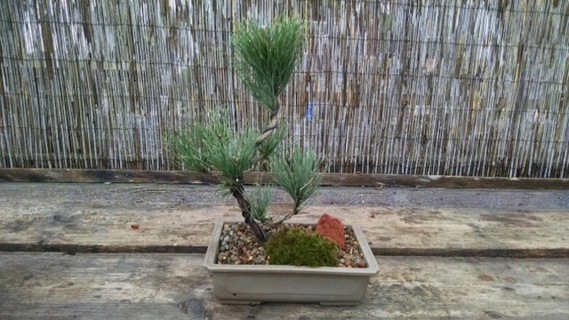
After adding the soil, it was time to wire the branches into place. Plant City's resident pine expert, Adair, recommended I keep the tall top branch in place for a couple of years, to give the trunk time to grow thicker. After the trunk has gained some thickness, I can remove this branch, making the current "middle" of the tree the top.
I made a couple of bends in this top branch to reduce its height and to try and give the tree a more interesting shape. I wired the small branches straight out from the trunk to give the tree more overall width.
